
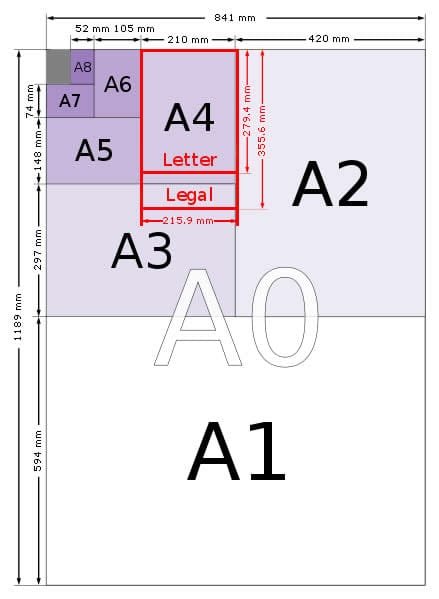
The ISO 216 paper size system is an international standard that is used in many places in the world in copy and print devices that defines paper sizes. Based on the metric system, the ISO paper size system uses a height-to-width ratio with an aspect ratio of 1 to 1.414 (The square root of 2). If a sheet is cut into two, the resulting halves are the same proportions as the original.
This standard defines three series of paper sizes
- Letter: 216 W 279 mm
- Legal: 216 W 356 mm
- Executive: 190 W 254 mm
- Ledger/Tabloid: 279 W 432 mm
The most commonly used sizes in U.S. office applications include the following, as defined by the American National Standard:
The Standard for Series A, B and C Paper Sizes
The United States and Canada do not widely use the ISO standard paper sizes. Instead, the United States uses the Letter, Legal and Executive system, and Canada uses a P-series of sizes. Unlike the international ISO 216 standard, these paper sizes are not based on a proportional aspect ratio system for size.
- P1: 560 W 860 mm
- P2: 430 W 560 mm
- P3: 280 W 430 mm
- P4: 215 W 280 mm
- P5: 140 W 215 mm
- P6: 107 W 140 mm

Advantages : Coated paper is the typical paper of choice for marketing material. A coated sheet keeps your printing from looking “fuzzy” by restricting ink from absorbing into the surface of the paper. Often containing clay, the sealants in a coated paper produce sharper text and reduce dot gain in photos and gradients. Coated paper is also more opaque than uncoated sheet, thus better suited to 2-sided printing without substantial bleed through from the back side printing, even on thin paper.
Weight - the weight of a paper refers to its thickness and is typically measured in pounds (such as 20#) and points (such as 10 PT). The higher the number, the thicker the paper for that "type" of paper. Paper weights in commercial printing can be very confusing. For example, a sheet of 20# bond (probably what you use on your copy machine) is about the same thickness as a sheet of 50# offset . A more meaningful measurement is to pay attention to is a paper's caliper. See the paper caliper chart.
Summit Printing, we’re taking every step possible—in accordance with government guidelines—to keep employees safe and customers satisfied as we continue with operations.
Although most coated paper is “shiny” (gloss) , many other options are available. Coated papers come in gloss, matte, dull, satin, and other finishes. In addition to the paper finish options, there are also many different paper coatings that can be applied to the paper to control the sheen.
Printing and Paper
Opacity - a paper's opacity is determined by its weight, ingredients and absorbency. A paper's opacity determines how much printing will show through on the reverse side of a sheet. Opacity is expressed in terms of it's percentage of reflection. Complete opacity is 100% and complete transparency is 0%.
Disadvantages : Coated papers are more difficult to write on, especially with a pencil. They may also not work well with your desktop printed (laser or ink jet) . For this reason letterhead, forms and other types of printing that you intend to write or print on are typically printed on an uncoated paper. In recent years many paper coating do seem to have improved on their writability, so you may want to test product if you really want both a coated paper and the ability to write or print on them afterwards.
Brightness - the brightness of a sheet of paper measures the percentage of blue light it reflects. The brightness of a piece of paper is typically expressed on a scale of 1 to 100, with 100 being the brightest. Most papers reflect 60-90% of light. The brightness of a paper affects readability, the perception of ink color and the contrast between light and dark hues.

Instead of grabbing a bunch of sheets of paper with different spacings, I decided to create my own test sheet. It has line spacings ranging from 2mm up to 10mm so that all of my testing could be done on one sheet of paper. To create this test sheet, I made individual sheets of each spacing using this Lined PDF Generator. I then digitally cut out a few lines from each sheet and pasted them all into one sheet, along with a note for the line spacing of each set.
If you prefer writing on blank paper and using a guide sheet, you can try getting creative with the line spacing for a better writing experience. Using the Lined PDF Generator I mentioned above, I was able to create a guide sheet with 7mm lines for writing that are spaced 4mm apart. To do this, I used the values “7mm, 4mm” in the Line Spacings box. To make it a bit more obvious which lines to write on, I made the baseline thicker using the values “.5pt, 1pt” in the Line Widths box. Here is how my generator screen looked and how the resulting guide sheet looked.
Let’s start with a quick discussion on line spacing. As you probably know, different brands of paper can come with different line spacings. The most popular tend to be 5mm-7mm. Even within the same brand, line spacings can differ, especially between grids and lines. Most grids, whether they are dot or line grid, are spaced at 5mm. Open lines are typically spaced a bit further apart at 7mm. Of course, there are always outliers. I have seen 2mm grids and 10mm lines.
Now that I had my sheet, all that was left to do was write! I usually write in a few different styles, so I tried each one, figuring that the spacing that works best for my all-caps print may not work best for cursive. I also tried a few different nib sizes. While I usually use broader nibs, I sometimes use a fine nib and find that my writing looks different, so I wondered if maybe line size had something to do with that. Here is my test sheet with writing:
My Test Sheet

- 2mm: Grid – Life Kleid, Ro-Biki Note
- 3mm: None that I could find, so consider printing a custom guide sheet
- 4mm: Grid – Fabriano EcoQua, Graphilo
- 5mm: Grid – Rhodia, Tsubame Note, Fabriano EcoQua, Clairefontaine Basic, Life Noble, Century Edition, Midori MD, Mnemosyne
- 6mm: Grid – Logical Prime, Lined – Century Edition, Apica CD (is actually 6.5mm)
- 7mm: Lined – Rhodia, Tsubame Note (is actually 7.5mm), Kokuyo Campus, Logical Prime, Midori MD, Mnemosyne
- 8mm: Lined – Clairefontaine Basic, Graphilo, Life Noble, Clairefontaine Triomphe
- 9mm: None that I could find, so consider printing a custom guide sheet
- 10mm+: Dot Grid – Logical Prime (1.2mm), Lined – Life L Writing Paper
For my own writing, I think the 4-5mm range is my favorite for fine nibs, 5mm my favorite for medium nibs when printing, and 7mm my favorite for broad nibs when printing. For medium and broad nibs and cursive, I think 6-7mm are my spacing of choice.
If you know what your favorite line spacing is, you’ll want to find paper that has it. Here is a list that has a variety of different notebooks and notepads with as many different line spacings as I could find.
So, these were all the standard A Paper Sizes. This post also contains a whole paper sizes chart, along with a paper sizes table. So, if you’re looking for sizes such as a6 size in cm, a3 size in pixels, or even a4 size in inches, you can use the table.
A Paper Sizes are of great use these days. We use paper for different purposes. Ranging from books to legal documents to even the minimal writing material and even newspapers, the paper is in use everywhere. It would be challenging to imagine a life without paper.
Try to think if there was no newspaper in the mornings when you wake up, no paper to write letters or print legal documents and no paper for books to read! Life would have been difficult. But now let’s think of another thing. Papers come in different sizes. Large and small, big and thick, A Paper Sizes.
A3 and A2 Sizes are widely in use for Artworks and by school-level Painters
Usage of the ISO 216 Standard A Paper Sizes
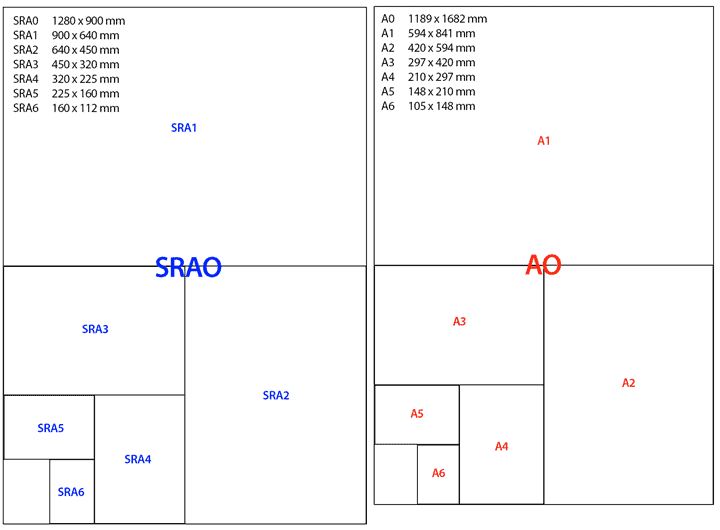
The names themselves state the overall dimensions – 2A0 is the size obtained by joining two A0’s by the larger side
So, we think the above table helped you in a proper way. If not then go through the table mentioned below.
Thus, if something needs to print in A4 size
As there can always be human and machine errors in making papers
Throughout the body of your paper, include a citation whenever you quote or paraphrase material from your research sources. As you learned in Chapter 11 “Writing from Research: What Will I Learn?”, the purpose of citations is twofold: to give credit to others for their ideas and to allow your reader to follow up and learn more about the topic if desired. Your in-text citations provide basic information about your source
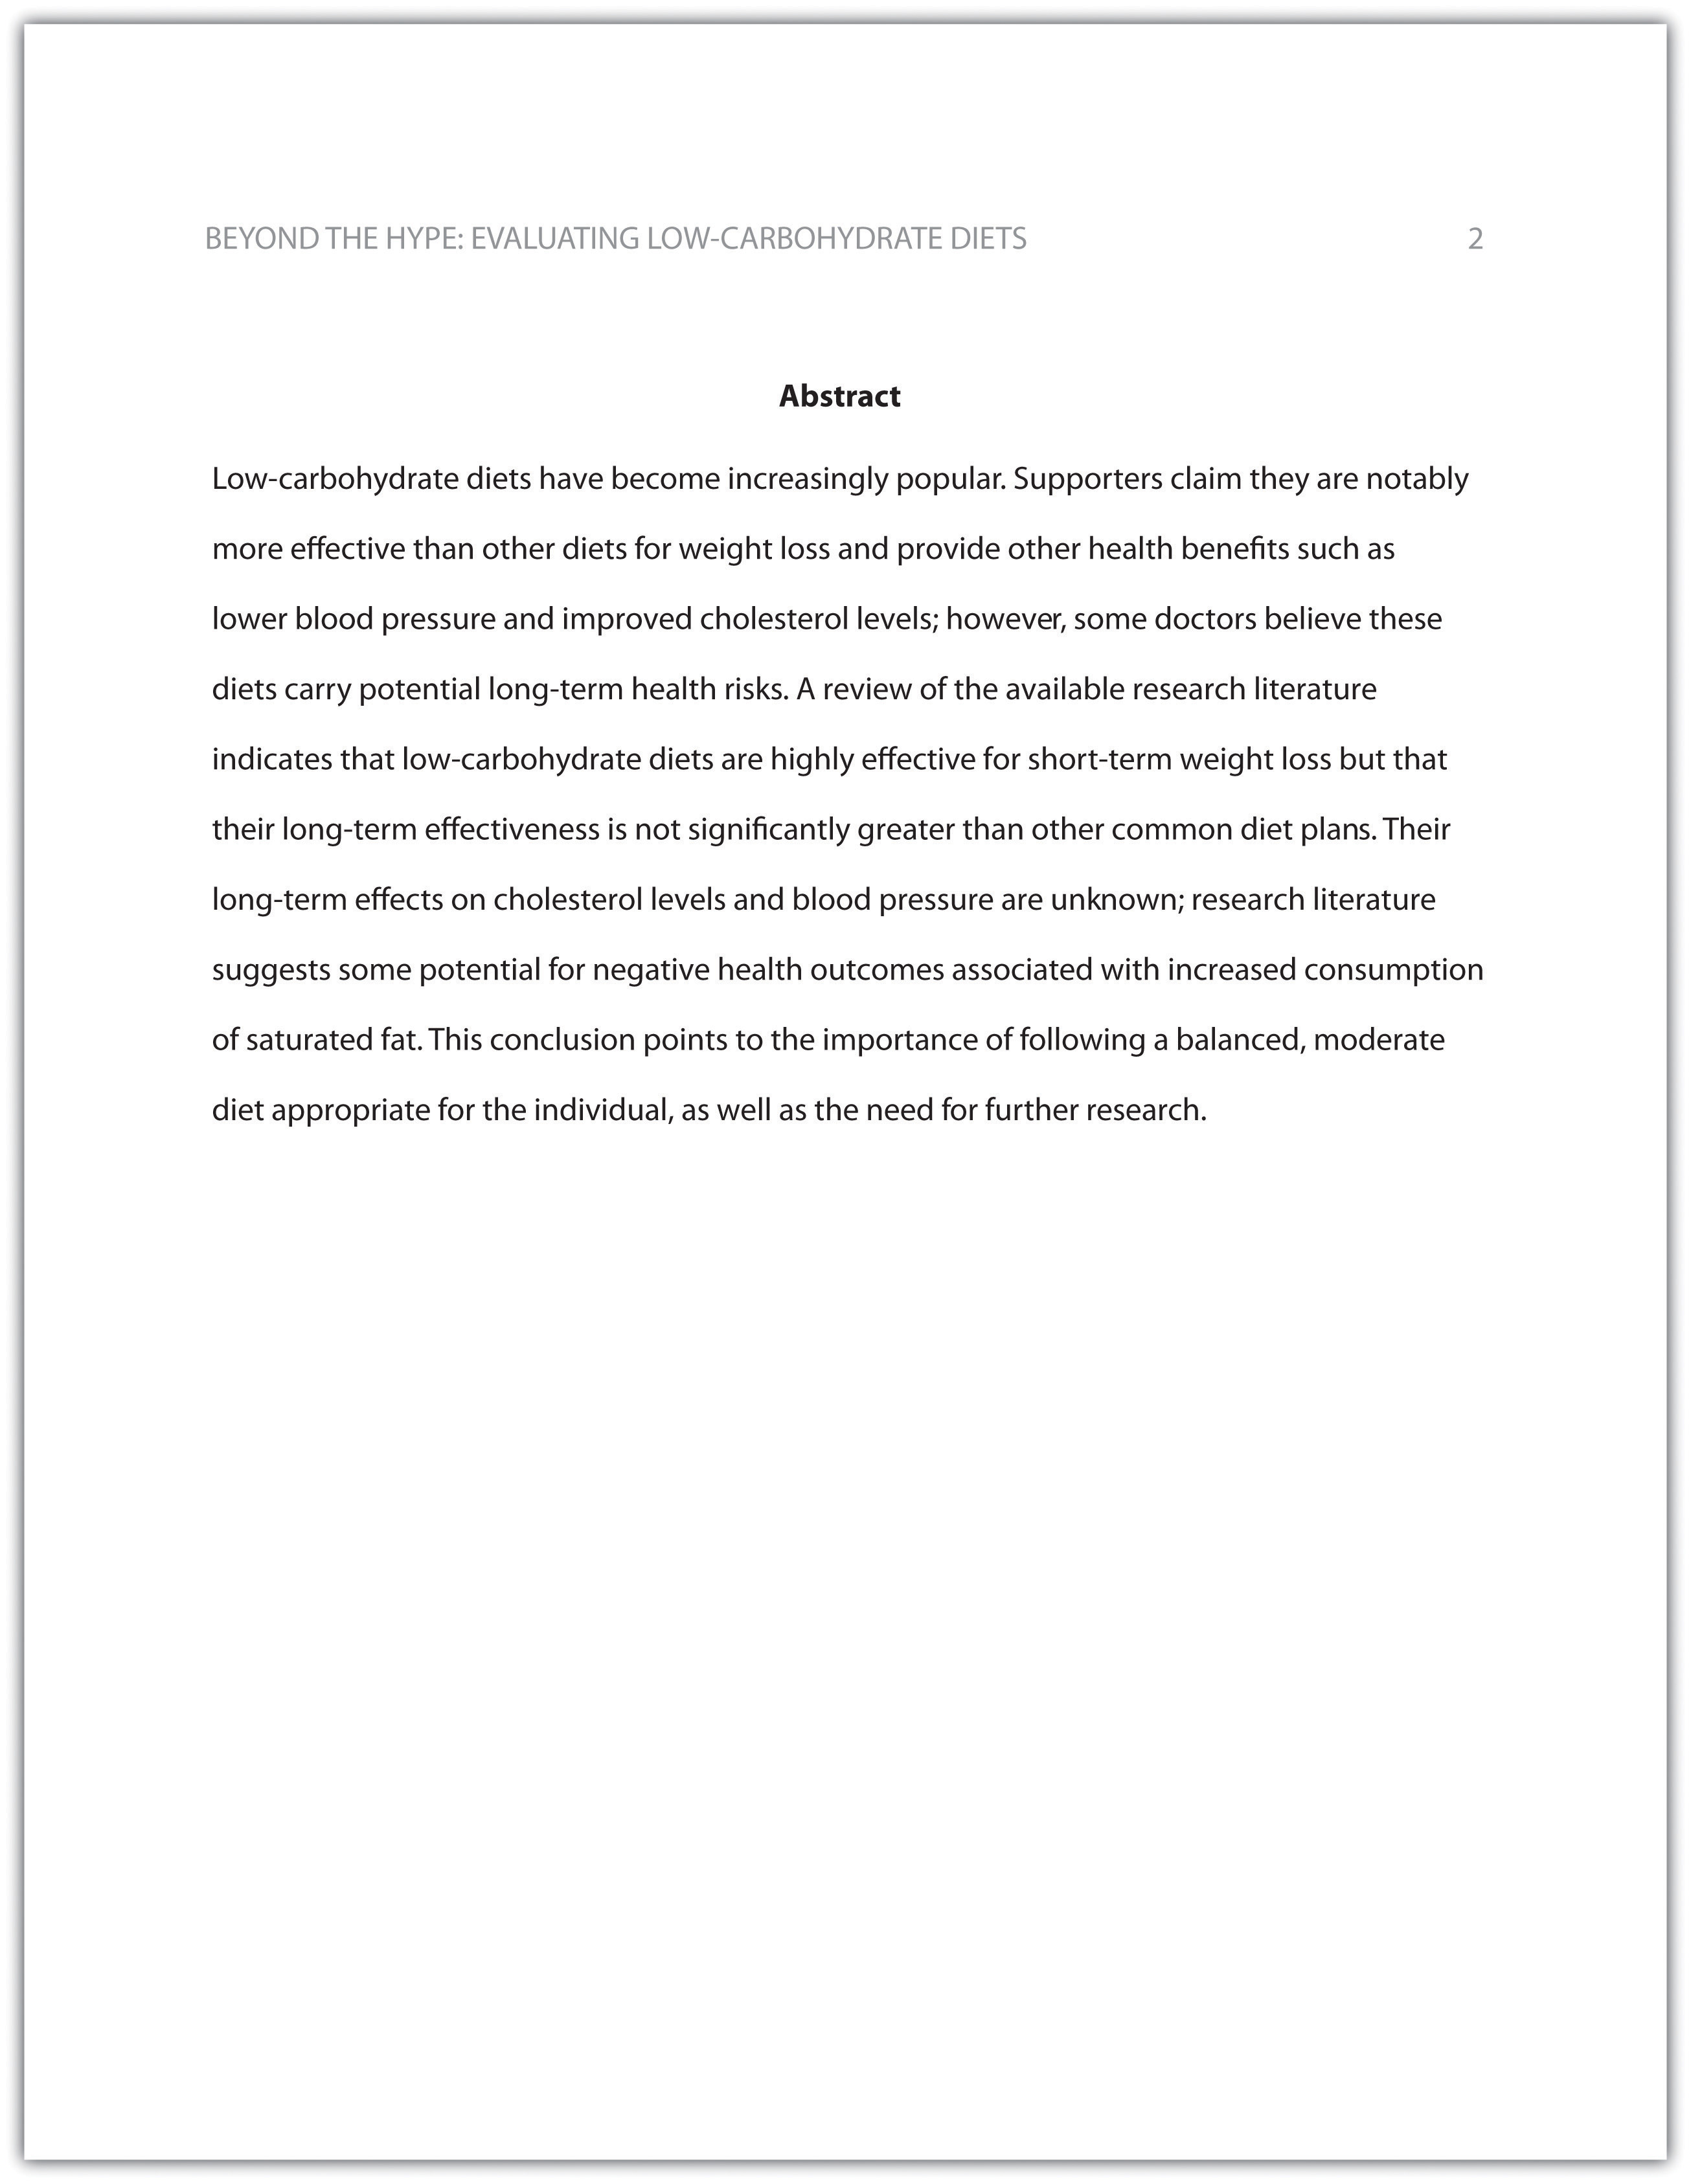
The next page of your paper provides an abstract , or brief summary of your findings. An abstract does not need to be provided in every paper, but an abstract should be used in papers that include a hypothesis. A good abstract is concise—about one hundred fifty to two hundred fifty words—and is written in an objective, impersonal style. Your writing voice will not be as apparent here as in the body of your paper. When writing the abstract, take a just-the-facts approach, and summarize your research question and your findings in a few sentences.
Another variation is to introduce the author and the source title in your sentence and include the publication date and page number in parentheses within the sentence or at the end of the sentence. As long as you have included the essential information, you can choose the option that works best for that particular sentence and source.
Visually, the hierarchy of information is organized as indicated in Table 13.1 “Section Headings”.
Headings
- Set the top, bottom, and side margins of your paper at 1 inch.
- Use double-spaced text throughout your paper.
- Use a standard font, such as Times New Roman or Arial, in a legible size (10- to 12-point).
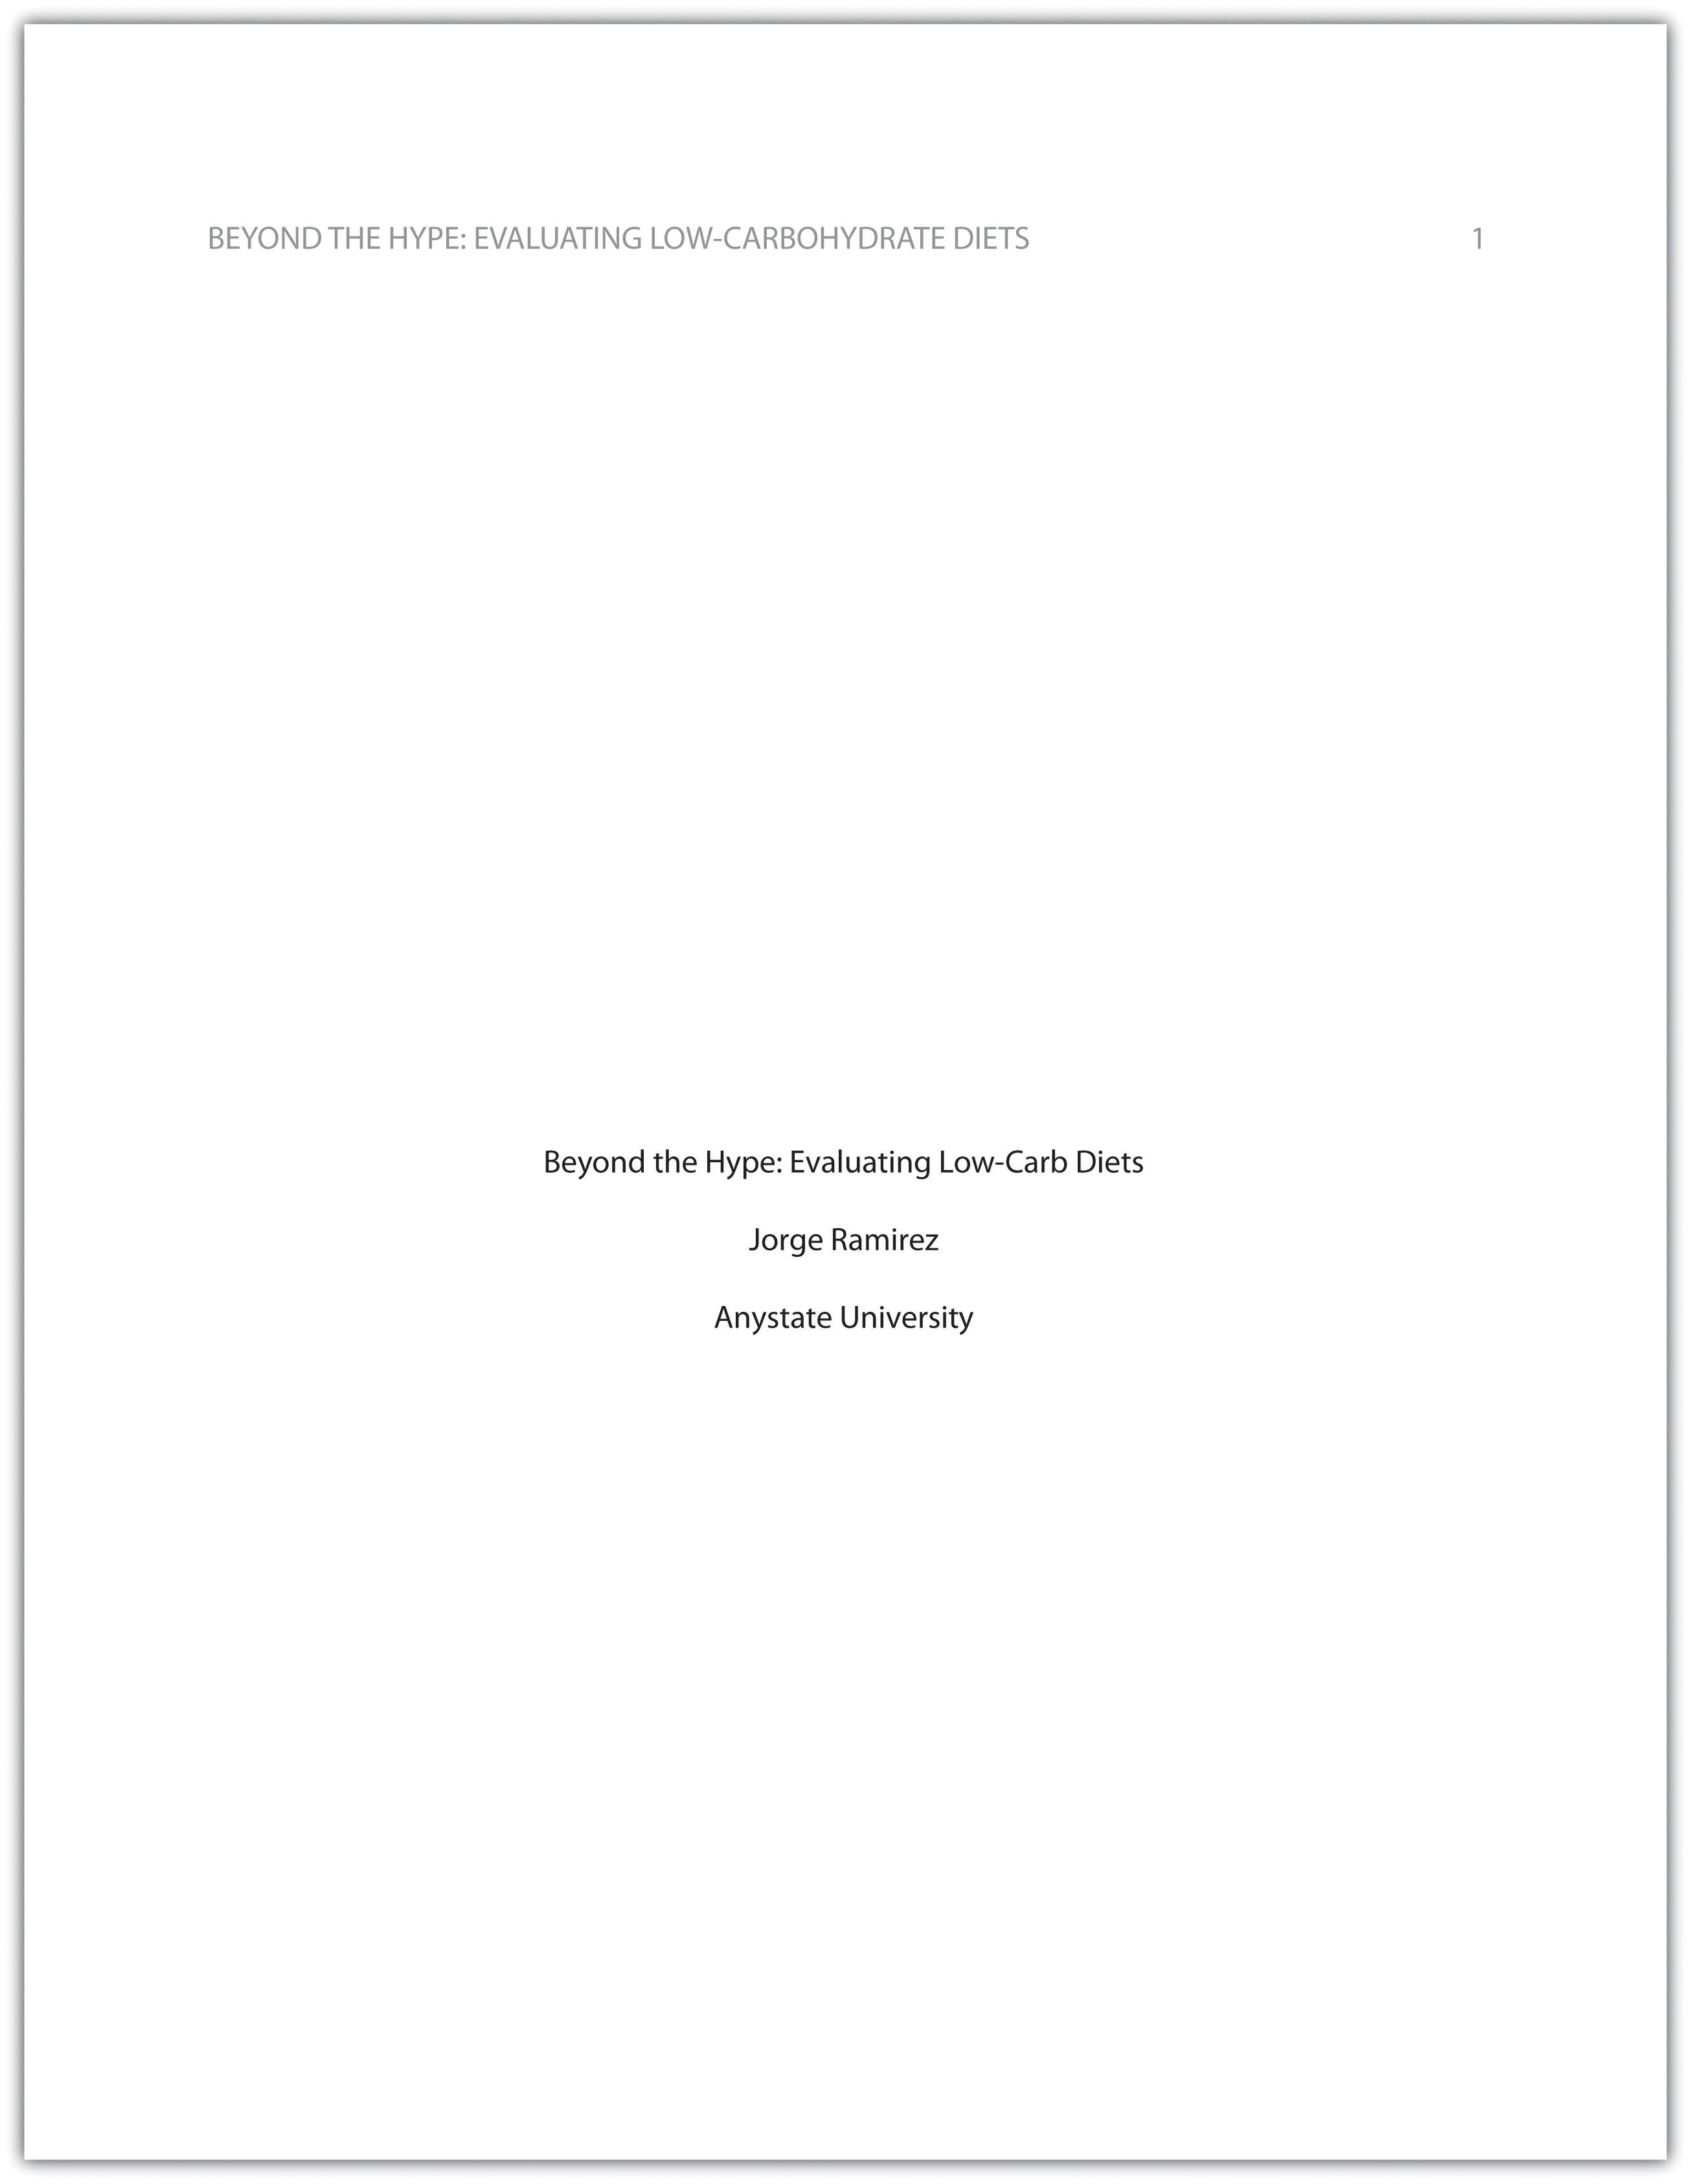
- Use continuous pagination throughout the paper, including the title page and the references section. Page numbers appear flush right within your header.
- Section headings and subsection headings within the body of your paper use different types of formatting depending on the level of information you are presenting. Additional details from Jorge’s paper are provided.
- Your title page
- The abstract you created in Note 13.8 “Exercise 1”
- Correct headers and page numbers for your title page and abstract
A college research paper may not use all the heading levels shown in Table 13.1 “Section Headings”, but you are likely to encounter them in academic journal articles that use APA style. For a brief paper, you may find that level 1 headings suffice. Longer or more complex papers may need level 2 headings or other lower-level headings to organize information clearly. Use your outline to craft your major section headings and determine whether any subtopics are substantial enough to require additional levels of headings.
- Section headings use centered, boldface type. Headings use title case, with important words in the heading capitalized.
- Subsection headings use left-aligned, boldface type. Headings use title case.
- The third level uses left-aligned, indented, boldface type. Headings use a capital letter only for the first word, and they end in a period.
- The fourth level follows the same style used for the previous level, but the headings are boldfaced and italicized.
- The fifth level follows the same style used for the previous level, but the headings are italicized and not boldfaced.